Radio Creator Wires#
Inbox interface#
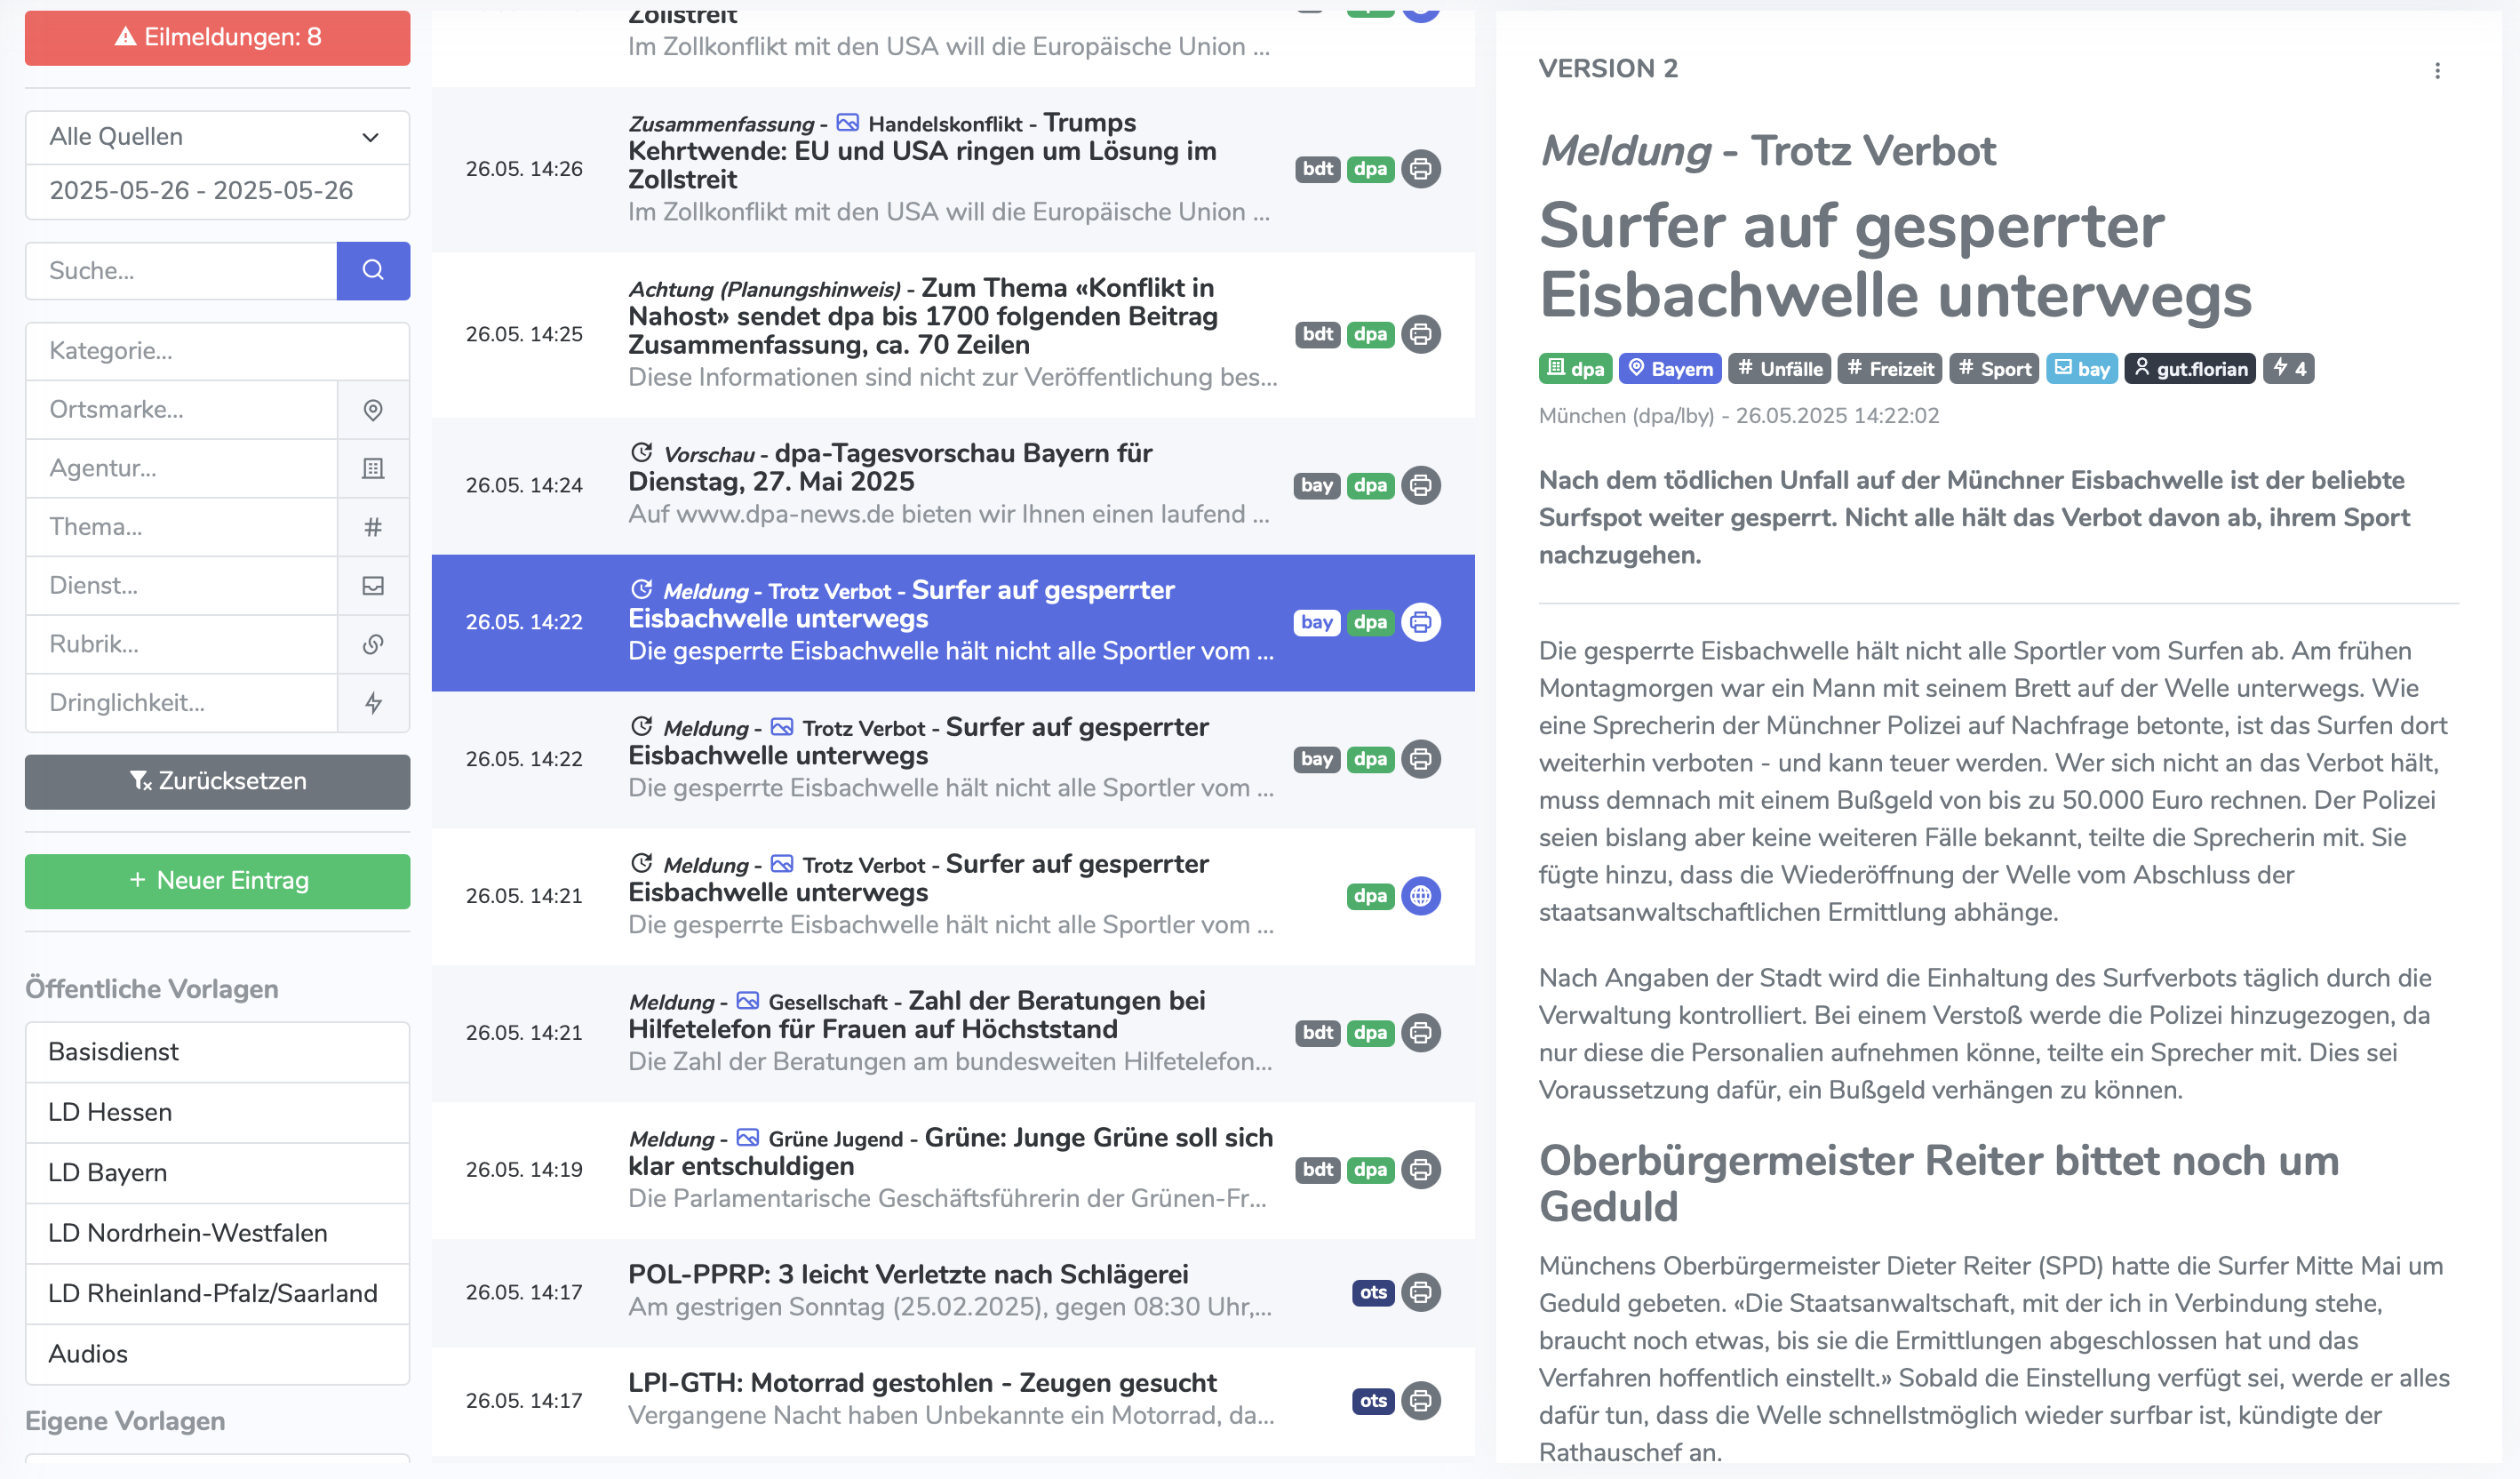
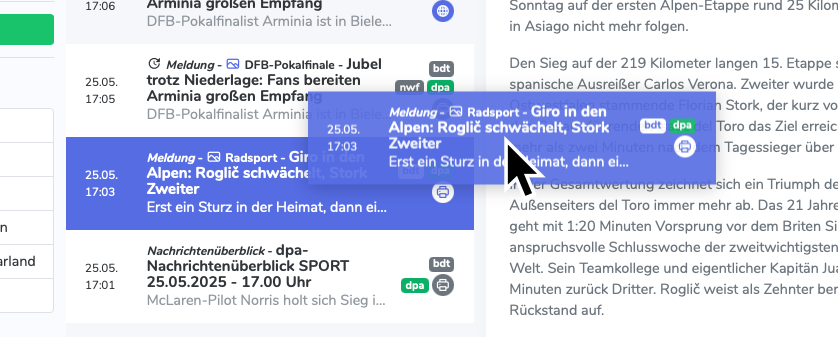
The main view of the Wires module is structured similarly to an email program. On the left, you can see a list of all articles that have been loaded into the system via the various interfaces. On the right, the detail view of the selected article is displayed. Articles can be filtered using the search bar.
To change the width of the list and the reading area, you can move the divider between the two sections.
New entries#
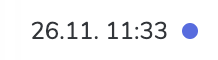
New entries that have arrived since the inbox was opened are marked in the list with a small blue dot. As soon as the entry has been read, the page has been reloaded, or a new filter has been applied, the dot disappears.
Media content#
Media content is marked with an icon before the headline in the list.
Audio content is marked with a microphone icon.

Image content is marked with an image icon.

Version update#
If an article has been updated, this is indicated in the list by a version update icon.

Tags in the list#
To the right of the article title, tags are displayed that describe the article. From left to right:
CMS: Not visible in this example. See Managing transferred articles under CMS integration.
Services: Services are gray and rectangular. Which services are shown here can be defined in the settings. In this example, bay stands for the Bavarian regional service and bdt for the basic service.
Agencies: Agencies are colored and rectangular. The color matches the one defined for the agency in the settings. In this example, dpa is shown in green.
Source: Sources are round and have an icon representing the source. In this example, a gray printer icon is used for dpa-wires.

Tags in the detail view#
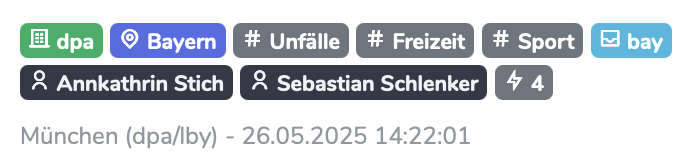
In the detail view, the service, all location tags, topics, services (or category), authors, and the article priority are listed below the headline. Clicking one of these tags applies the corresponding filter in the list.
Selecting versions#
Below the article in the detail view, you can see the version history. To switch to a specific version, click the corresponding version.
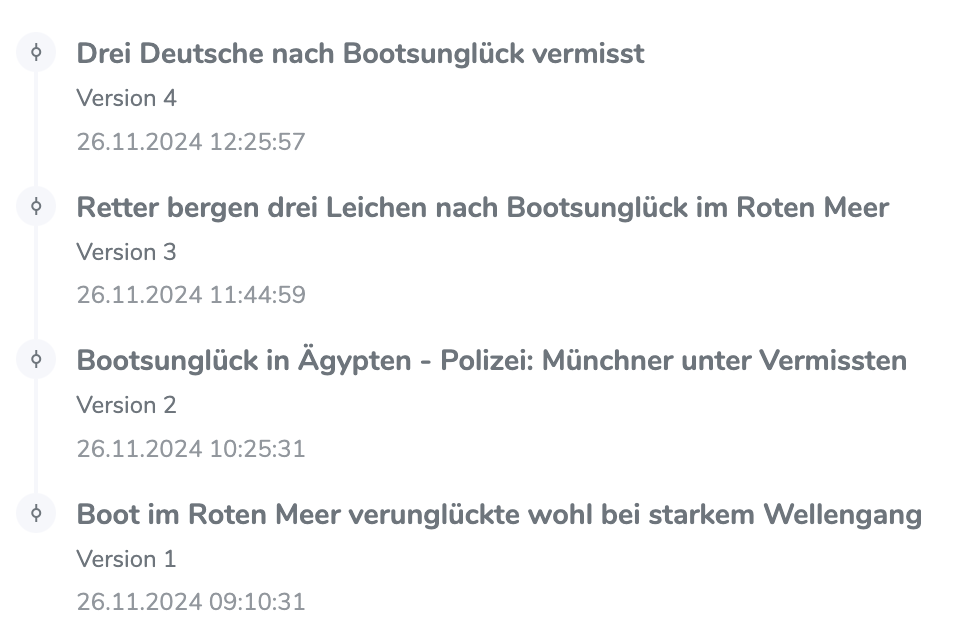
In addition, the article header indicates whether a newer version of the article is available. Clicking the link loads the latest version of the article.

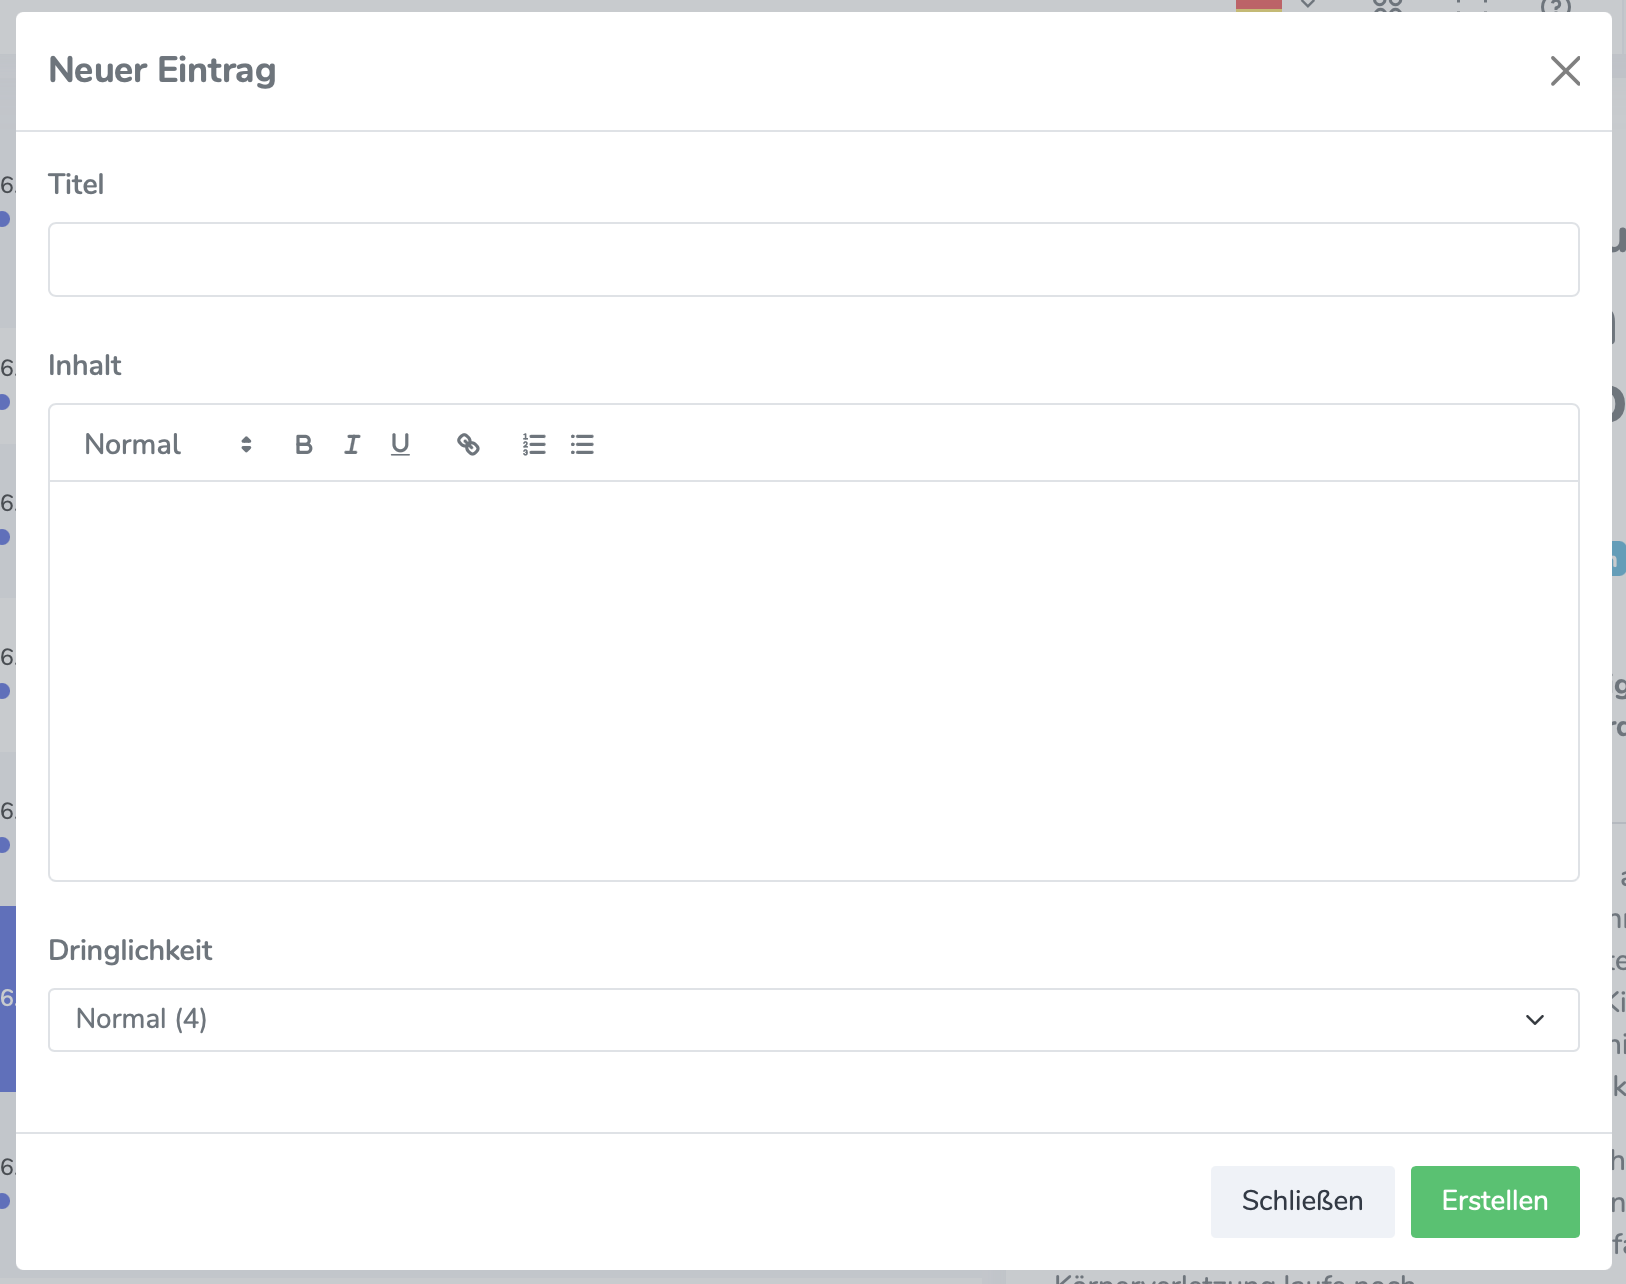
Add entry#

Articles can be added manually using the “New entry” button. This is useful, for example, if information was not loaded into the system via an interface but was obtained through your own research or phone calls. The “New entry” button opens a form where the article can be created.
Warning
FFH MEDIENGRUPPE: This function is also currently being used temporarily to transfer content from the Regio Hub to the News Hub!
Searching and filtering#
All filters are always combined and always apply to the current source and the selected time period.
Searching#
How to use the search field is explained under Research.
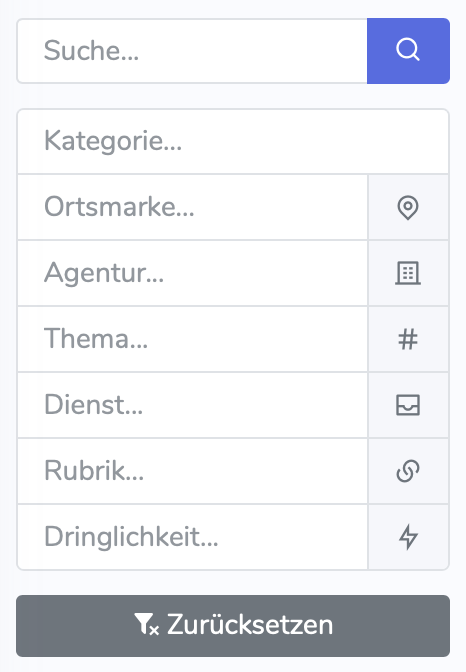
Filters#
Under the “Filter” dropdown menu, articles can be filtered by various criteria. The filters are:
Category: Categories are groupings of topics that can be defined per organization.
Location tag: Location tags (also called “geosubjects”) are simple tags, just like topics. These can be states, countries, or continents.
Agency: The agency that published the article, e.g. dpa or ots. Not to be confused with the source that defines an interface.
Topic: Topics are simple tags.
Service: Describes the service through which the article was loaded into the system, e.g. hes for the Hessian regional service or bdt for the dpa basic service.
Category label: Equivalent to the service, but used by other interfaces (e.g. dpa-weblines).
Urgency: The urgency of the article. The smaller the number, the more urgent the article. When filtering by urgency, all articles with the same or higher urgency level are shown.
Breaking news#
At the top level of the search bar, there is a dedicated button for breaking news that shows how many breaking news items have been sent today. Click the button to display only breaking news.

Breaking news is shown in the article list in red text. The next higher priority level is “news flashes”, whose background also flashes red.

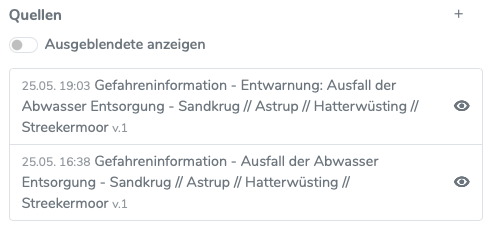
Retracted reports#
Retracted reports are shown with strikethrough formatting in the list.

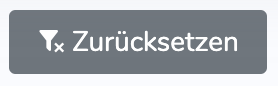
Reset filters#
The “Reset” button resets all filters except for the source.
Filter templates#
Filter templates can be used to save frequently used filter combinations and quickly access them again. Filter templates can be saved organization-wide (public templates) or only for your own account (personal templates).
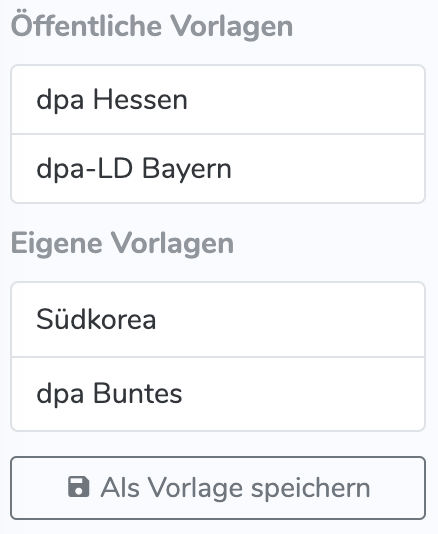
Clicking “Save as template” lets you save the current filter combination as a template. A dialog opens where you can enter the template name.

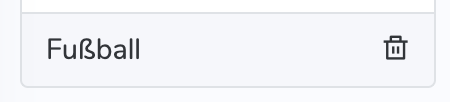
To delete a template, click the trash can icon next to the template.
CMS integration#
Transfer articles to the CMS#
Note
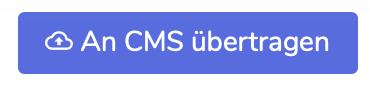
The “Transfer to CMS” button is only available if CMS integration has been configured for the respective source (e.g. dpa-weblines).
To transfer an article to the CMS, click the “Transfer to CMS” button.
A dialog then opens where additional metadata for the article can be adjusted.
If “Prevent automatic updates” is selected, the article will no longer be updated automatically. To reactivate the function, the checkbox must be cleared again in the article in the CMS.
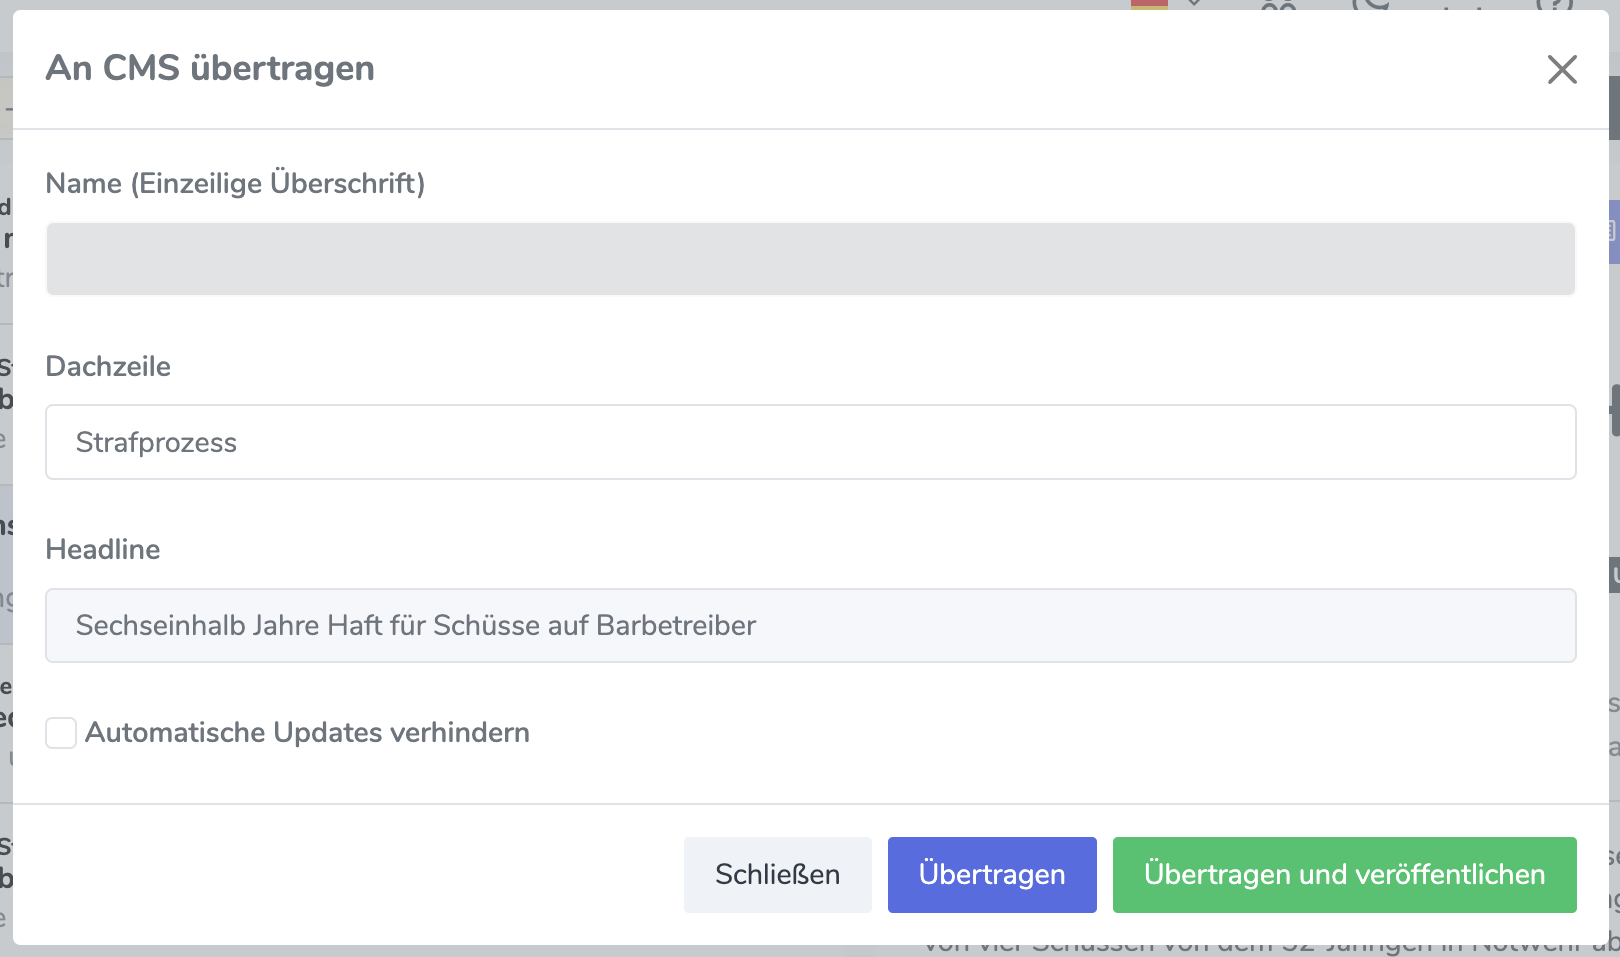
After opening the modal, AI automatically generates suggestions for the missing metadata, which can be selected from a dropdown.
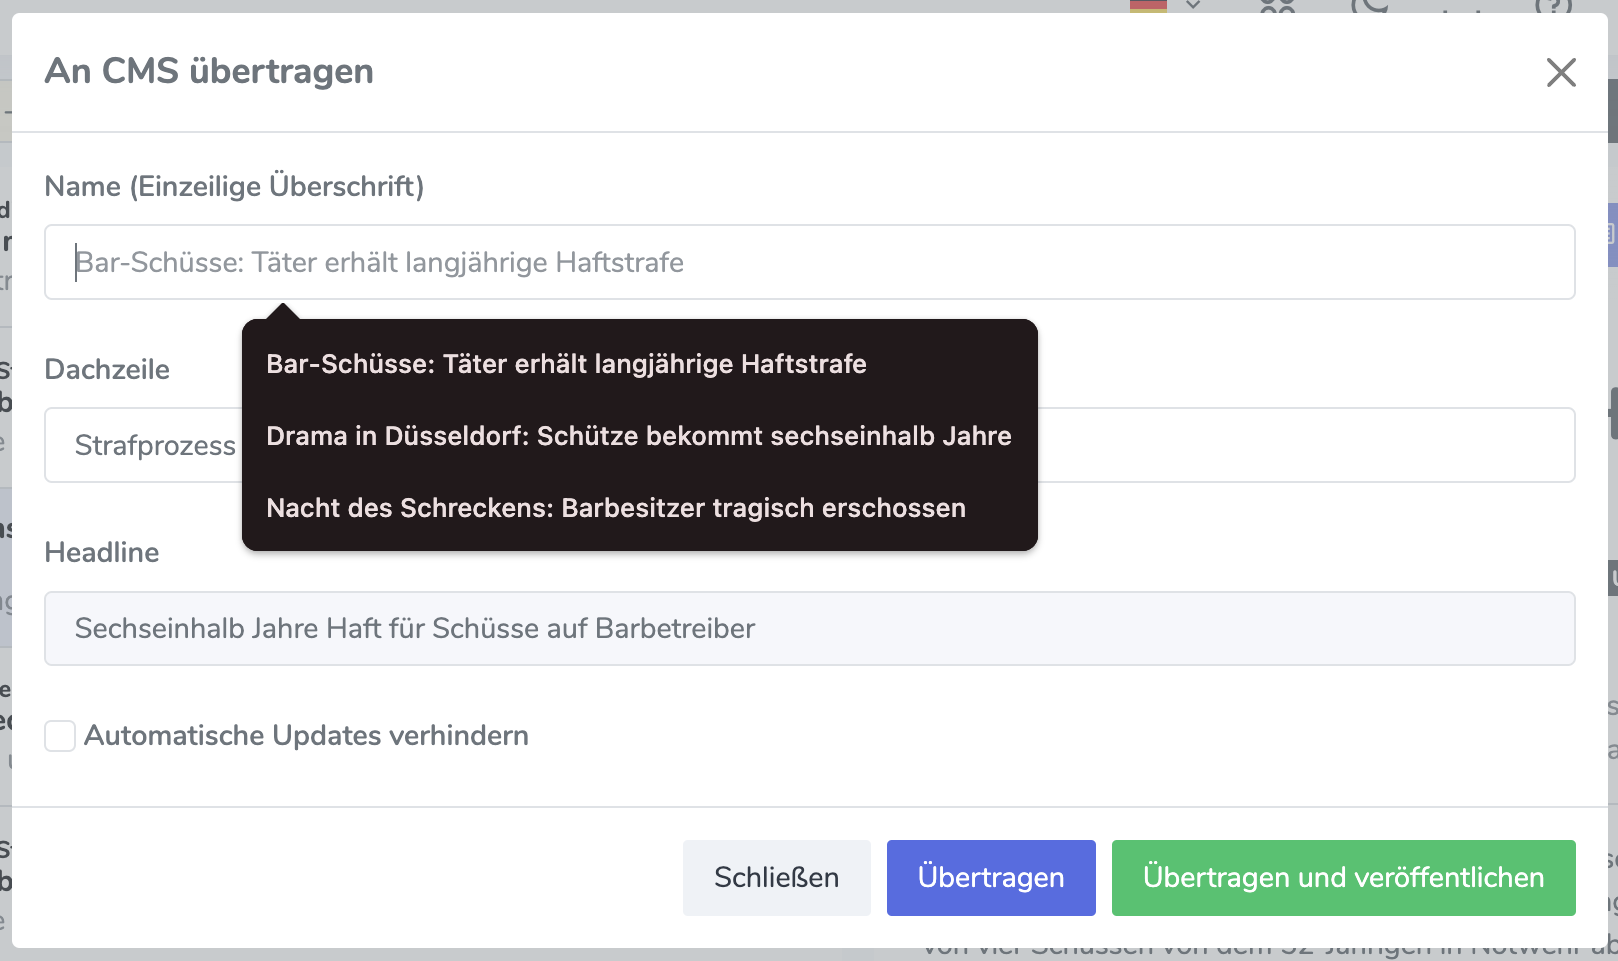
Once all metadata has been filled in, the article can be transferred to the CMS.
The “Transfer and publish” button transfers the article to the CMS and publishes it automatically.
The “Transfer” button only transfers the article to the CMS; it must then be published manually in the CMS.
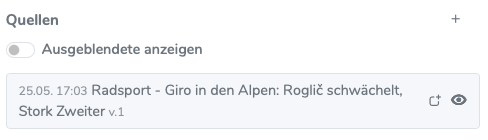
Managing transferred articles#
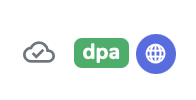
Transferred articles are marked in the article list with a cloud icon. A gray cloud means that this article, in this version or a newer one, has been transferred to the CMS.

A red, crossed-out cloud means that this article is a new, updated version that has not yet been transferred to the CMS. This happens when the “Prevent automatic updates” checkbox has been selected in the CMS, making automatic updates impossible. To reactivate the function, the checkbox must be cleared again in the article in the CMS, and the latest version must be transferred manually once.
Warning
If the checkbox is selected in the CMS, the article cannot be overwritten manually either until the checkbox has been cleared in the CMS.

If a new version should not be transferred to the CMS, but it should be shown that the version has already been reviewed, the article can be marked as “Reviewed”. To do this, click the dropdown menu (the three dots to the right of “Transfer to CMS”) and select “Version reviewed”.
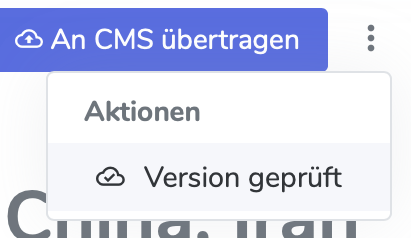
In the list, the article is then displayed with a “cloud with checkmark” icon.
Newsroom integration#
Generate a new topic#
Entries from Wires can be dragged and dropped into the Newsroom. This automatically generates a new topic.
To do this, drag the entry out of the list in Wires …
… and drop it into the Newsroom. A new topic is created automatically, using the entry title as its title.
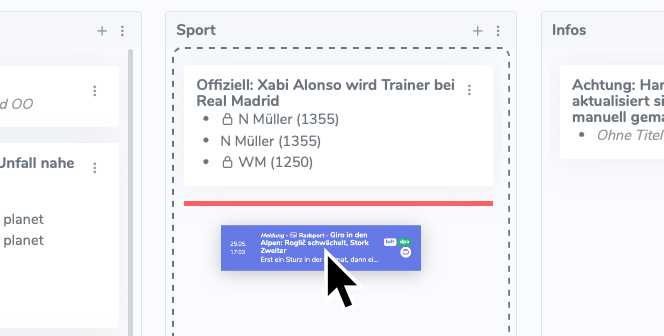
The entry is then displayed in the topic and can be opened from there.
Add an entry to an existing topic#
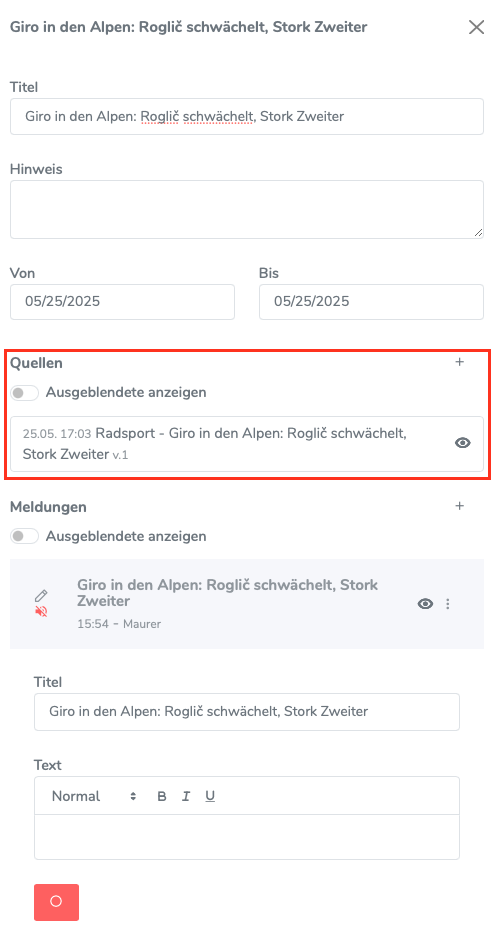
Entries from Wires can also be added to an existing topic in the Newsroom. To do this, drag the entry out of the list in Wires and drop it onto the topic in the Newsroom.
Within the topic, the entry is then displayed under Sources, and an additional new item is created using the entry title.